最近在做kernel labs,发现学内核还是有一个调试环境更容易理解一些。不过kernel labs教程中的环境个人觉得不是很好用(需要在gdb和串口界面反复切换),实际运行的内核和教程中的说明本来也有些对不上,加上我并不是很熟悉x86汇编,最后在试用了几个lab平台之后,觉得还是自己搭一个靠谱。
本调试平台在AOSC OS下搭建(当然发行版不是特别重要,有交叉编译环境和较新的qemu就行):
把需要的对应版本的内核获取下来,在其目录下执行:
export ARCH=loongarch

# 这里改成自己用的交叉编译器的前缀
export CROSS_COMPILE=loongarch64-aosc-linux-gnu-

make defconfig
make menuconfig

# 配置内核,以6.12.19版为例
-> Kernel hacking
  -> Compile-time checks and compiler options
    -> Debug information
      -> Generate DWARF Version 5 debuginfo (DEBUG_INFO_DWARF5 [=y])

-> Processor type and features
  -> Build a relocatable kernel
    -> Randomize the address of the kernel image (KASLR) (RANDOMIZE_BASE [=n])

make -j14

# 制作tag索引
make tags
接下来要制作一个rootfs镜像。一开始发现busybox有bug,想试试直接用aosc的buildkit,结果不出意外systemd服务挂了一片。果然要想简单还得用busybox。下载最新版本,解压后在目录下执行:
export ARCH=loongarch64
export CROSS_COMPILE=loongarch64-aosc-linux-gnu-
这里直接make menuconfig会出错,因为scripts/kconfig/lxdialog/check-lxdialog.sh第50行试图用一个包含include的临时c程序来判断有无ncurses库,但main前面没加int会导致编译器报错(非常草台班子)。把int补上之后再接着执行:
make menuconfig
-> Settings
  -> Build static binary (no shared libs) (STATIC [=y])
  # LoongArch尚未适配
  -> SHA1: Use hardware accelerated instructions if possible (SHA1_HWACCEL [=n])
  -> SHA256: Use hardware accelerated instructions if possible (SHA256_HWACCEL [=n])

# tc模块有个古早bug,在较新的内核上无法通过编译,这里偷懒直接关了
-> Networking Utilities
  -> tc (TC [=n])

make -j14

# 制作rootfs镜像
qemu-img create rootfs.img 10M
mkfs.ext4 rootfs.img
sudo mount rootfs.img /mnt
sudo make install CONFIG_PREFIX=/mnt ARCH=loongarch64 CROSS_COMPILE=loongarch64-aosc-linux-gnu-
sudo mkdir /mnt/{proc,dev,etc,mnt}
sudo cp -r examples/bootfloppy/etc/* /mnt/etc/
sudo umount /mnt
rootfs.img这样就制作好了,把它移到内核目录下,并在内核目录下创建一个qemu脚本:
#!/bin/bash
qemu-system-loongarch64 \
        -kernel vmlinux \
        -hda rootfs.img \
        -hdb fat:rw:./files \
        -append "root=/dev/vda console=ttyS0" \
        -nographic -s
hdb这里设置的files是一个共享目录,需要手动创建。
打开kate,在设置-工程中勾选“还原打开的项目”,启用CTags与Kate调试器插件,Kate 调试器使用了dap协议,需要进行一下用户配置:
{
"dap": {
"gdb-kernel-debug": {
"url": "gdb",
"run": {
"command": [
"gdb",
"-i",
"dap"
],
"redirectStderr": true,
"redirectStdout": true,
"supportsSourceRequest": true
},
"configurations": {
"launch (attach)": {
"request": {
"command": "attach",
"mode": "debug",
"program": "${file}",
"args": "${args|list}",
"cwd": "${workdir}",
"target": ":1234"
}
}
}
}
}
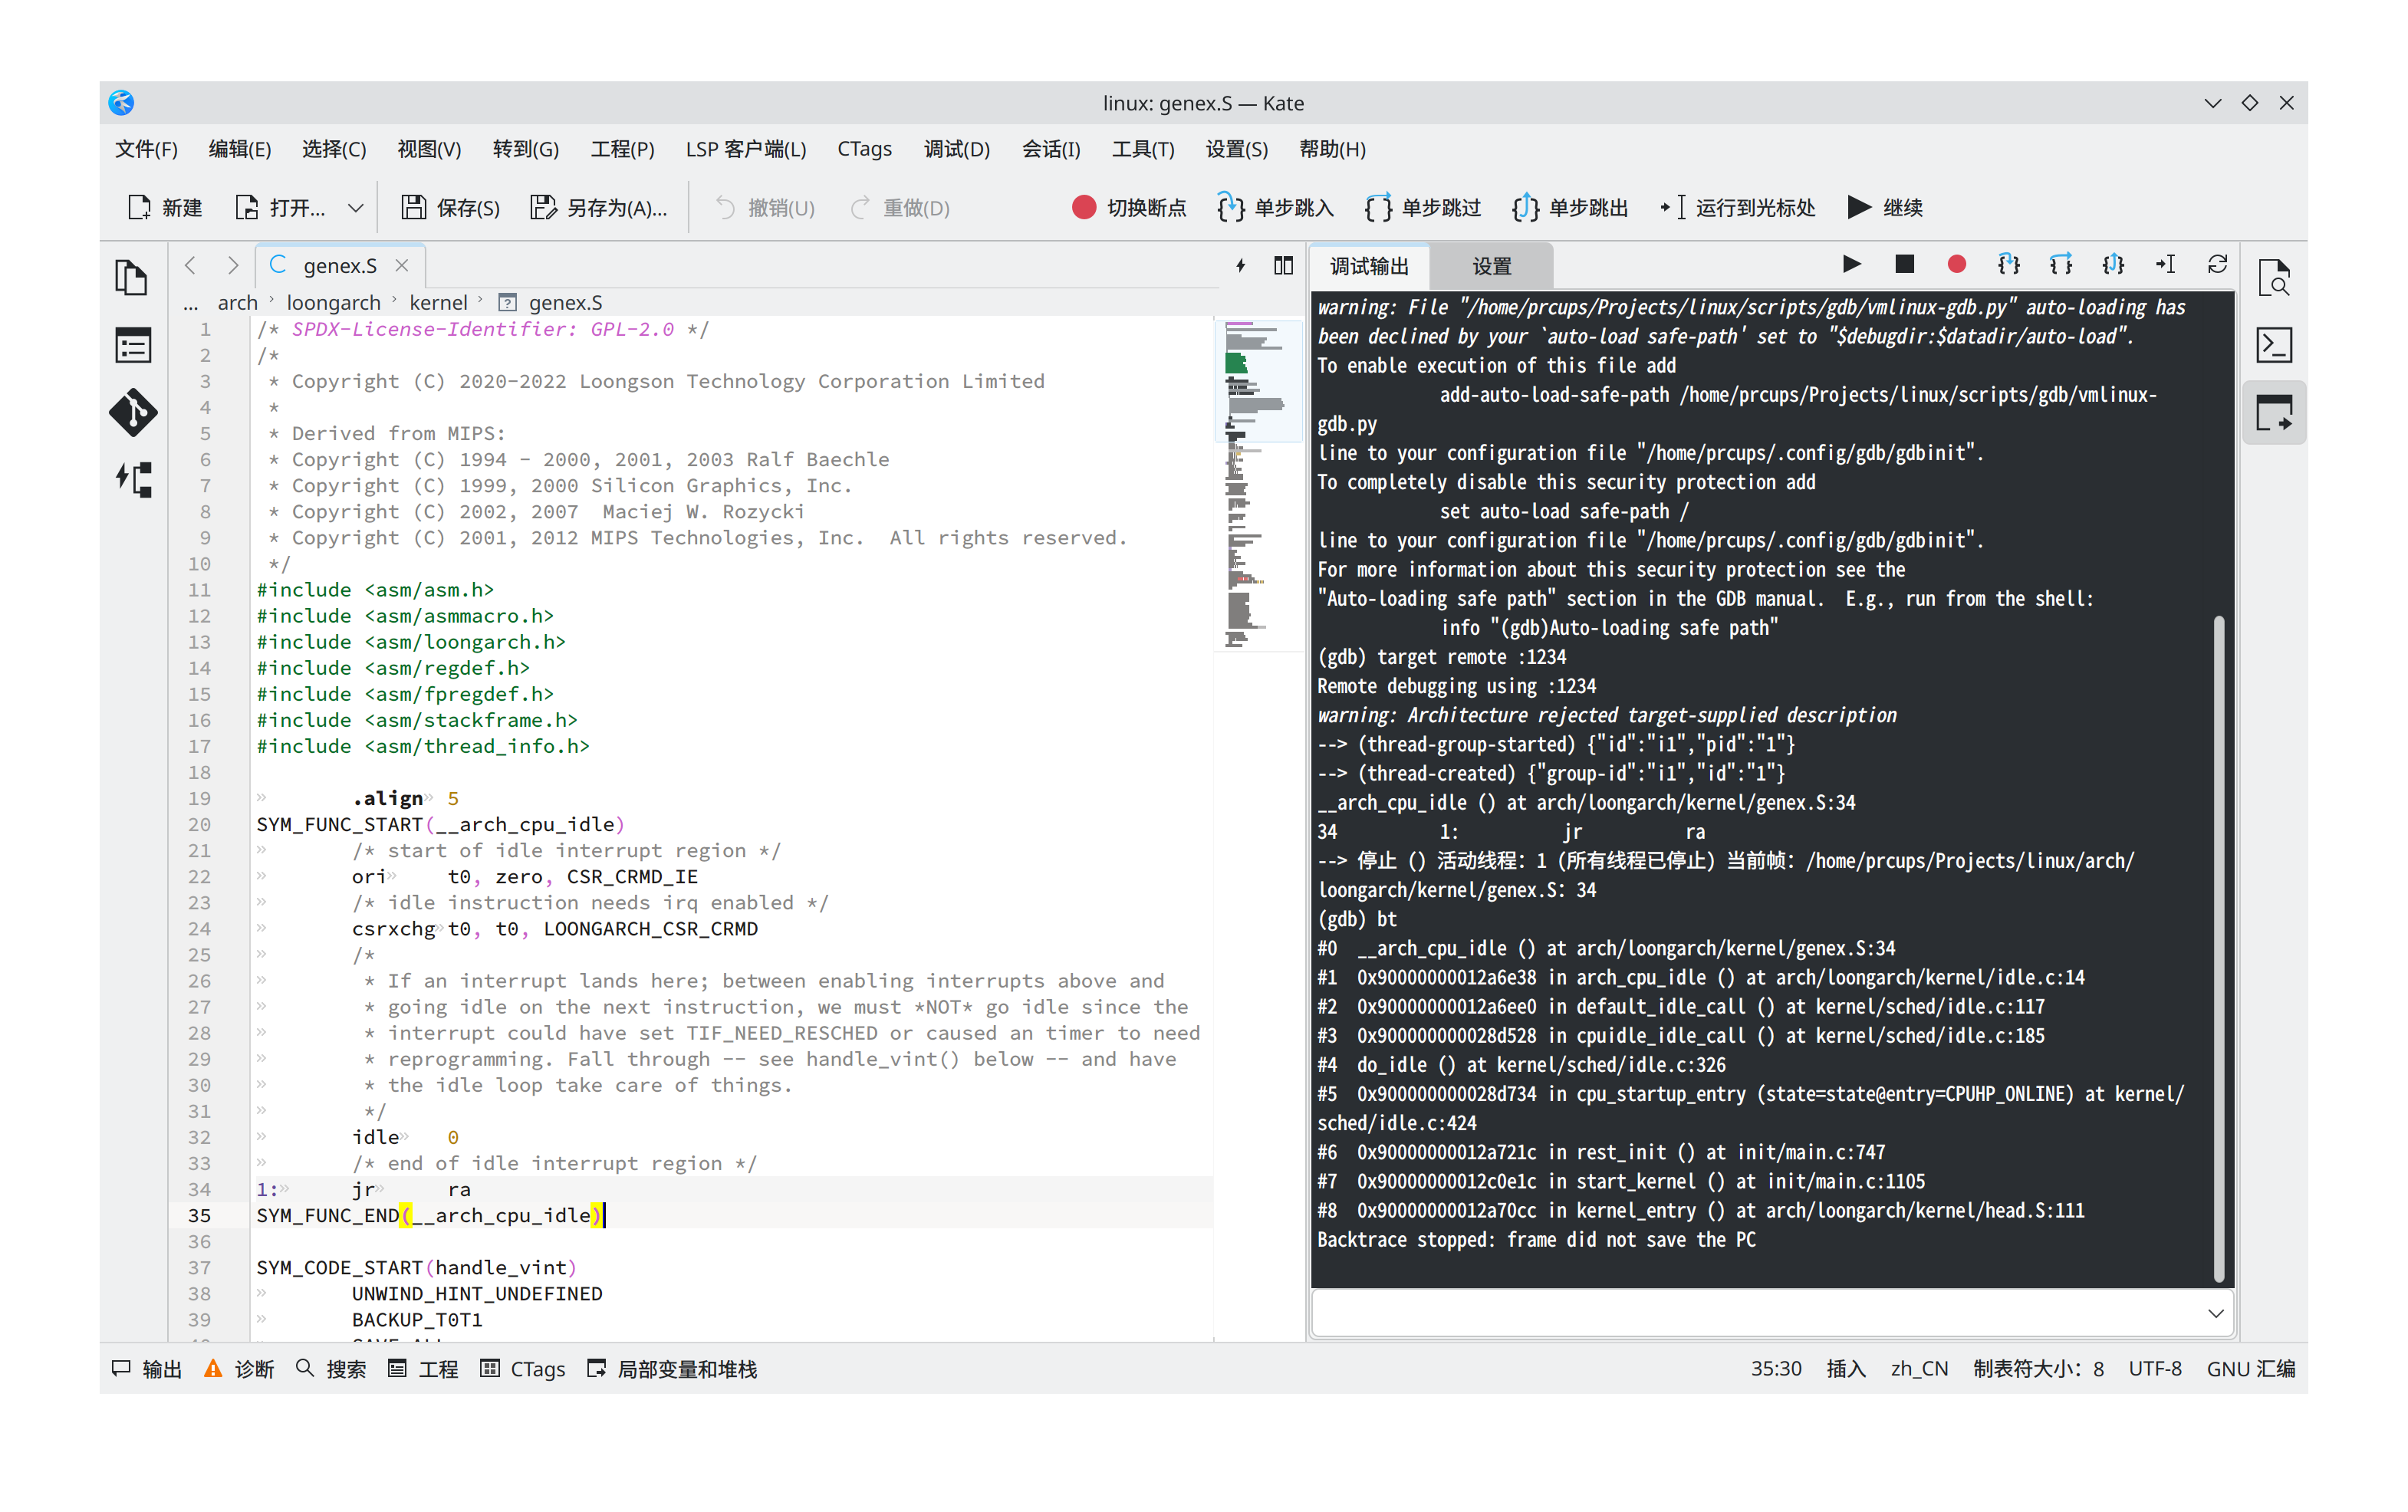
}调试器设置里载入以上配置,先运行起虚拟机,再启动调试器,Kate会自动跳转到arch_cpu_idle函数处。接下来就可以很方便的进行断点调试了。